
Push-ups are one of the most well-known bodyweight exercises. They’re simple, require no equipment, and can be done almost anywhere. But here’s the catch—most people do them wrong. Whether you’re new to fitness or have been exercising for years, learning how to do a push-up correctly is crucial to avoid injury and maximize the benefits.
In this guide, we’ll break down proper push-up form step by step. We’ll also cover common mistakes, modifications for beginners, variations to challenge yourself, and how push-ups benefit your entire body.
Let’s get started.
Table of Contents
ToggleWhy Push-Ups Are Important in Fitness
Push-ups are more than just a chest workout. They engage multiple muscle groups including the chest, shoulders, triceps, core, and even the glutes and legs to some extent. They improve upper body strength, core stability, and muscular endurance.
Here are some benefits of doing push-ups correctly:
-
Builds functional strength
-
Improves posture and balance
-
Boosts cardiovascular health when done in high reps
-
Enhances core stability
-
Requires no equipment
-
Burns calories and supports weight loss
Whether you’re training for general fitness, fat loss, or muscle gain, push-ups can be a valuable part of your routine.
Muscles Worked During a Push-Up
Understanding which muscles are targeted during a push-up can help you perform the movement with better control. A standard push-up primarily works:
-
Pectoralis major (chest)
-
Deltoids (shoulders)
-
Triceps brachii (back of your arms)
-
Rectus abdominis and obliques (core muscles)
-
Glutes (buttocks)
-
Serratus anterior (muscle under your armpit)
Proper technique ensures all these muscle groups are engaged effectively.
How to Do a Push-Up Correctly: Step-by-Step Instructions
Let’s walk through the steps of a standard push-up with correct form.
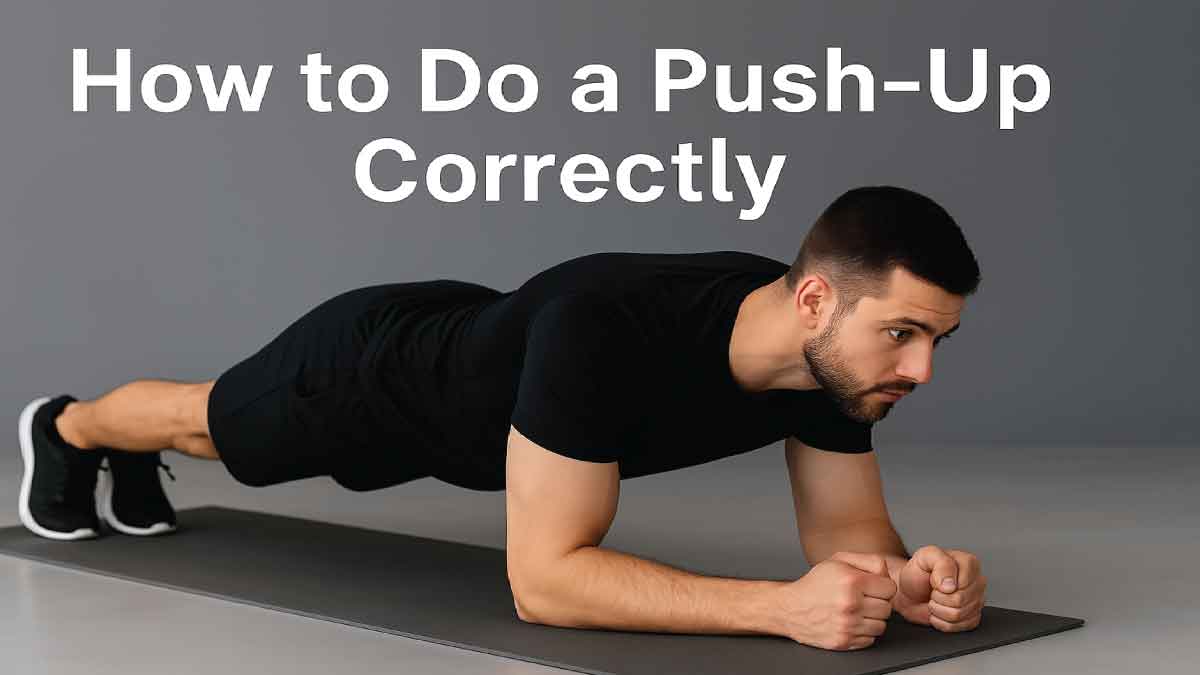
1. Start in a High Plank Position
-
Place your hands slightly wider than shoulder-width apart on the floor.
-
Your fingers should be spread slightly, pointing forward.
-
Keep your feet together or slightly apart, depending on your balance.
-
Engage your core, tighten your glutes, and make sure your body forms a straight line from head to heels.
📌 Tip: Think of your body like a rigid board. Avoid sagging your hips or sticking your butt in the air.
2. Lower Your Body Slowly
-
Begin to bend your elbows and lower your chest toward the ground.
-
Keep your elbows at about a 45-degree angle from your body (not flaring out).
-
Your chest should nearly touch the floor—don’t just go halfway.
-
Keep your head in a neutral position by looking a few inches ahead of your hands.
📌 Tip: Lower your body with control. Don’t drop or collapse into the movement.
3. Push Back Up
-
Exhale as you push through your palms to raise your body back to the starting position.
-
Keep your core tight and glutes engaged as you return to the plank.
-
Avoid locking your elbows at the top; keep a slight bend.
📌 Tip: Imagine pushing the floor away from you, not just lifting your body.
A Video Guide How to Do a Push-Up Correctly:
Common Push-Up Mistakes to Avoid
Many people perform push-ups in a way that reduces their effectiveness or increases the risk of injury. Here are the most common form mistakes:
❌ Sagging Hips
This often happens when your core is weak. It puts stress on your lower back and takes tension off your chest and arms.
Fix: Engage your abdominal muscles throughout the movement.
❌ Flaring Elbows
Letting your elbows flare out wide puts unnecessary pressure on your shoulders.
Fix: Keep your elbows at a 45-degree angle from your body.
❌ Incomplete Range of Motion
Only going halfway down doesn’t work your muscles fully.
Fix: Lower until your chest nearly touches the floor.
❌ Neck Drooping
Dropping your head throws off alignment and adds neck strain.
Fix: Keep your neck in line with your spine by looking slightly ahead.
❌ Speeding Through Reps
Fast reps often mean poor form and reduced muscle engagement.
Fix: Slow down. Focus on quality over quantity.
Beginner Modifications for Push-Ups
If you’re new to strength training or don’t yet have the upper body strength for a full push-up, don’t worry. You can still build up gradually using these easier variations:
1. Knee Push-Ups
-
Start in a plank position with your knees on the ground.
-
Perform the push-up while maintaining a straight line from your head to your knees.
-
This reduces the amount of body weight you need to lift.
2. Incline Push-Ups
-
Place your hands on a sturdy elevated surface like a bench, box, or table.
-
The higher the incline, the easier it is.
-
Perfect for learning the motion with less resistance.
3. Wall Push-Ups
-
Stand facing a wall and place your palms flat against it.
-
Step back a few feet and perform the push-up motion.
-
Ideal for absolute beginners or for a warm-up.
👉 Goal: Use these variations to build strength, then progress toward the full push-up over time.
Intermediate and Advanced Push-Up Variations
Once you’ve mastered the basic push-up, you can try advanced push-up variations to increase intensity, target different muscles, or add a balance challenge.
1. Wide-Grip Push-Up
-
Hands are placed wider than shoulder-width.
-
Focuses more on the chest.
2. Diamond Push-Up
-
Hands form a diamond shape under your chest.
-
Hits the triceps and inner chest harder.
3. Decline Push-Up
-
Feet are elevated on a bench or box.
-
Shifts more load to the upper chest and shoulders.
4. Spiderman Push-Up
-
As you lower, bring one knee to the outside of the same-side elbow.
-
Engages the obliques and improves balance.
5. Clap Push-Up
-
Explosive push-up that involves a clap mid-air.
-
Builds power and fast-twitch muscle fibers.
📌 Note: Only try advanced push-ups when you’ve mastered perfect form in the standard version.
How Many Push-Ups Should You Do?
There’s no one-size-fits-all answer. Your push-up goal depends on your fitness level and goals.
| Fitness Level | Recommended Sets & Reps |
|---|---|
| Beginner | 2–3 sets of 5–10 reps |
| Intermediate | 3–4 sets of 10–20 reps |
| Advanced | 4–5 sets of 20+ reps or variations |
You can also incorporate push-ups into your full-body workouts, upper body strength days, or as part of a bodyweight circuit.
How to Incorporate Push-Ups Into Your Workout Routine
Push-ups are extremely versatile. Here’s how you can use them:
-
Morning bodyweight routine: Start your day with 2–3 sets.
-
Strength training split: Include them on chest or upper body days.
-
HIIT workout: Add push-ups between cardio rounds.
-
Home workout: Combine with squats, lunges, and planks for a no-equipment session.
-
Push-up challenge: Try 30 push-ups a day for 30 days to see progress.
Tips to Improve Your Push-Up Form and Strength
If you’re looking to get better at push-ups, try the following:
✅ Strengthen Your Core
Weak core muscles make it hard to maintain form. Planks, dead bugs, and leg raises can help.
✅ Practice Negative Push-Ups
Start in a high plank and slowly lower yourself down over 3–5 seconds. Rest, reset, and repeat.
✅ Stretch and Mobilize
Tight shoulders or wrists can limit your push-up range. Do mobility drills for your chest and shoulders.
✅ Track Your Progress
Keep a log of how many push-ups you can do and how your form feels. Improvement motivates consistency.
Final Thoughts: How to Do a Push-Up Correctly
Push-ups may look simple, but mastering them takes effort and attention to detail. Doing push-ups correctly can build full-body strength, improve posture, and boost your fitness level without any gym equipment.
Remember:
-
Quality > quantity.
-
Core tight, glutes engaged, elbows at 45 degrees.
-
Practice consistently and progress gradually.
Whether you’re doing 5 push-ups on your knees or 50 explosive ones, proper form will always be the foundation of your success.
FAQS: How to Do a Push-Up Correctly:
1. What is the correct form for a push-up?
To do a push-up properly, keep your body in a straight line from head to heels, hands slightly wider than your shoulders, and lower your chest toward the floor without flaring your elbows. Engage your core and glutes. Good form prevents injury and ensures you’re working the right muscles, especially the chest, triceps, and core.
2. How low should I go during a push-up?
You should lower your chest until it’s just above the ground—about an inch or two. If you’re not going low enough, you miss out on muscle activation. Keep control on the way down and push up strong. Think quality over speed; half-reps won’t give you full results.
3. Are knee push-ups effective for beginners?
Yes, knee push-ups are a great starting point! They reduce the load on your upper body, letting you focus on proper form and gradually build strength. They still work your chest, arms, and core, and are an excellent step toward doing full push-ups with confidence and control.
4. Why do my wrists hurt during push-ups?
Wrist pain often comes from poor hand placement or lack of mobility. Try spreading your fingers and pressing through your palms evenly. Warming up your wrists and using push-up bars or doing incline push-ups can help reduce strain. Listen to your body—sharp pain is always a red flag.
5. How many push-ups should I do daily?
It depends on your fitness level. Beginners can start with 5–10 push-ups per set, aiming for 2–3 sets. As you get stronger, increase reps or try harder variations. Daily push-ups are great for building consistency, but give your muscles rest when needed to recover and grow stronger.